
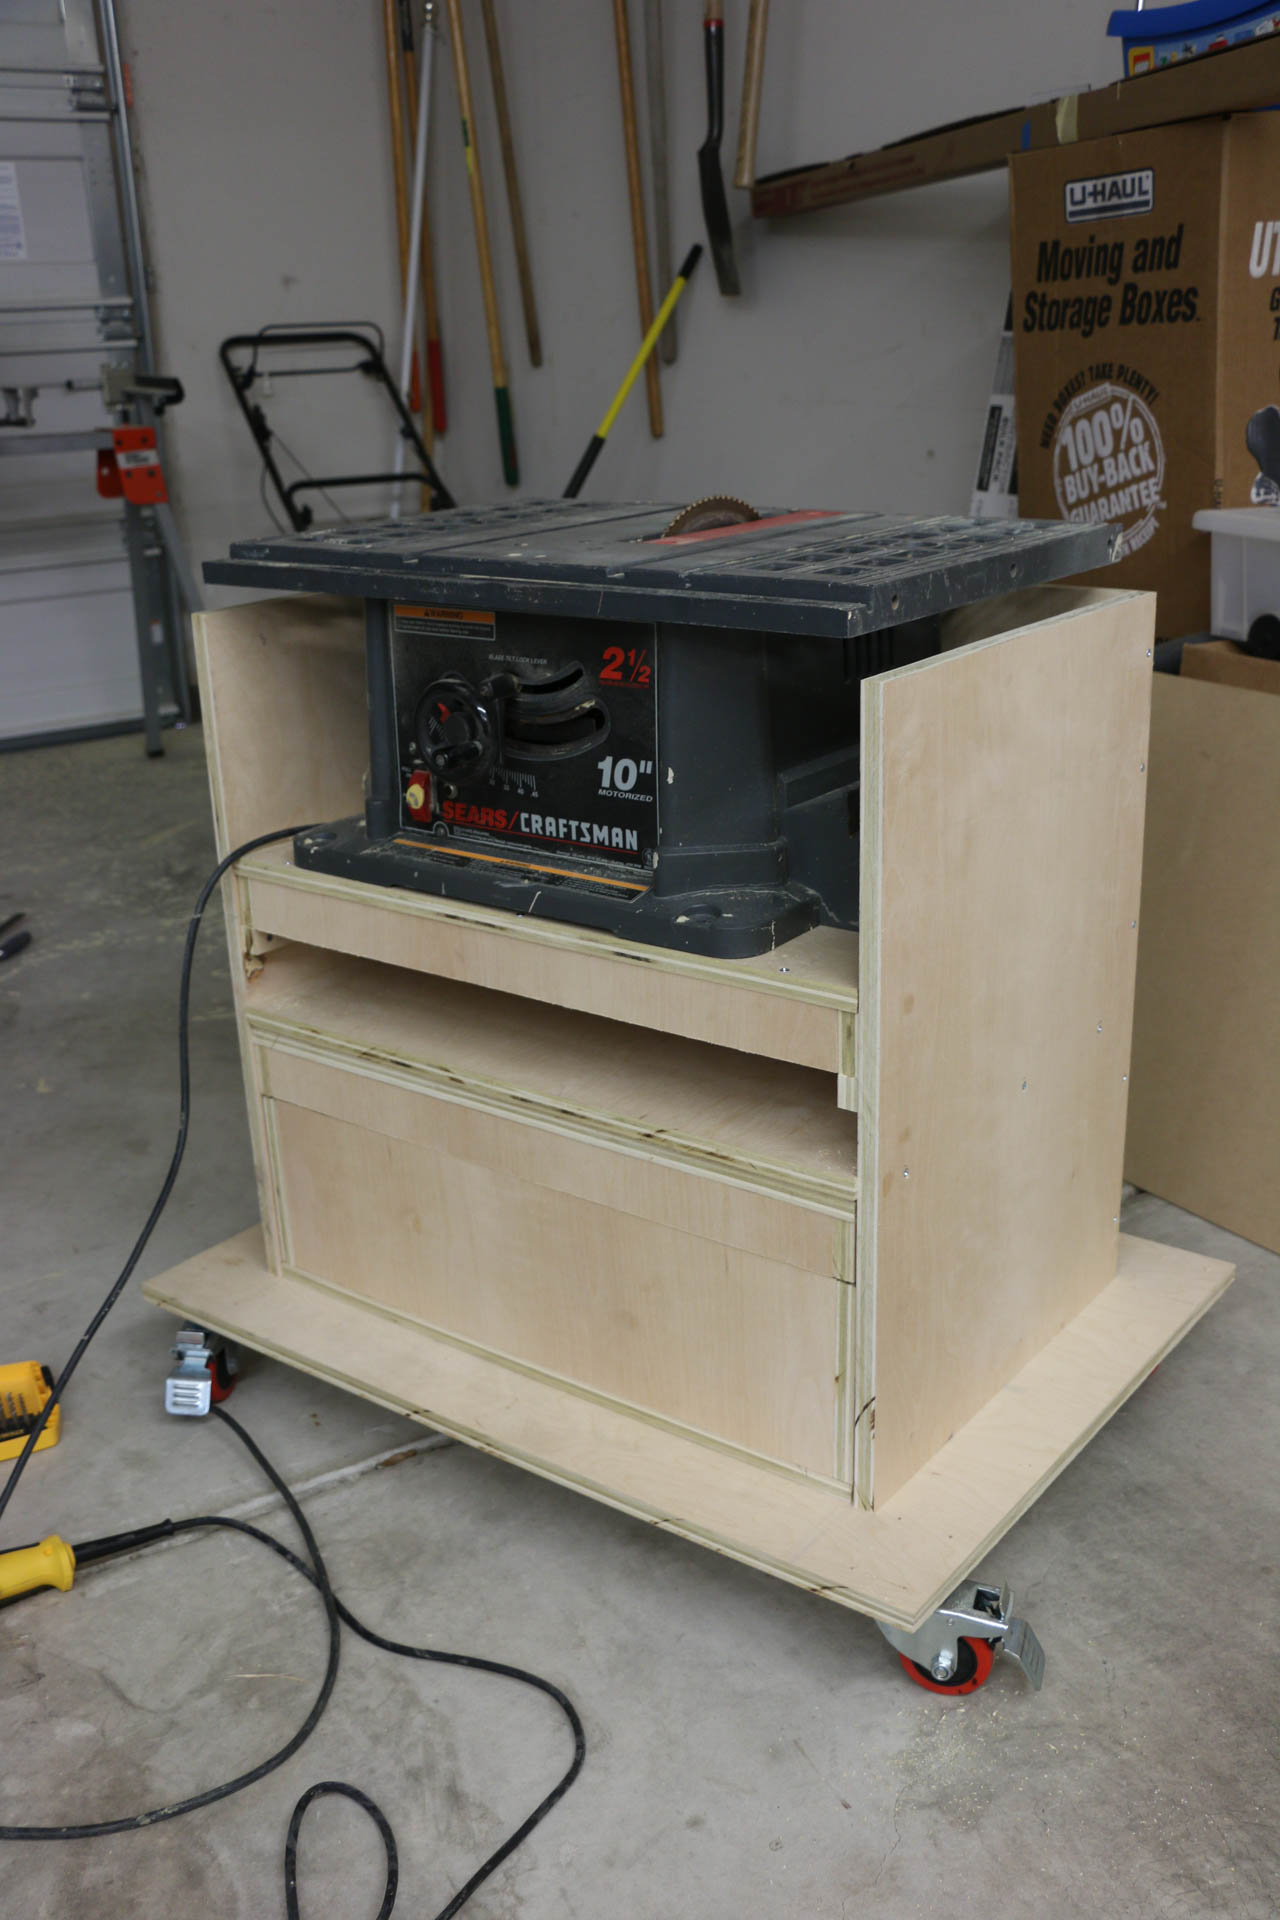
Well, it’s done!
In total, it probably took around 15-17 hours of work in the evening and Sat/Sun morning, but it was well worth it!
I didn’t get many shots of cutting the plywood down, since I am not used to taking pictures while working in the garage, but here it goes!
After getting the sides, back and center support cut, I clamped and screwed them together. No glue was used, as I thought I might take this apart at a later date (once I build an upgrade) and use the boards for something else.

Here is a shot of the back.

From here, I traced the edges of the sides and back plywood onto the bottom of the box to determine exactly where to screw the bottom. I used the slide rule and traced as I used it as an edge guide.

Once the bottom was secured, I then attached the wheels. No picture of the install, but here they are complete.

After skipping more photos of cutting and putting wood together (I’ll try to get better in the future), I completed the bottom section of the bottom box. Here it is stuck halfway in.

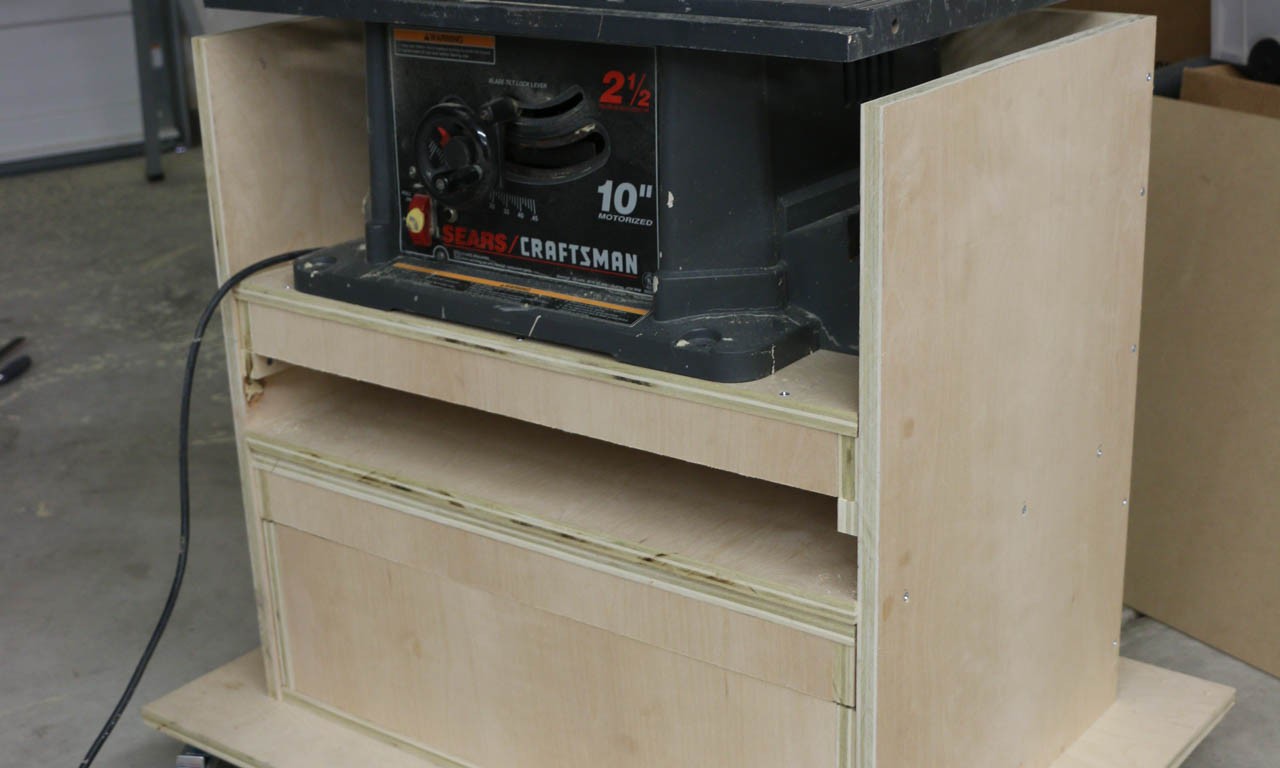
After some more work with no pictures, I completed the top section of the box and the identical bottom support of the table saw. Once this was on the workstation, I planned how to position the supports. The next few pictures show this.
No on the supports yet:

After supports went on:

Taking a break to get a photo.

In part 2b, I’ll move into the side supports. Part 2c will cover the creation of the router base and fence.
